Fitting guide
Everything we send arrives ready to fit: cut, weeded and on application tape, so the letters stay exactly where they were on your proof. Here's how to put it on neatly.
Before you start: measure
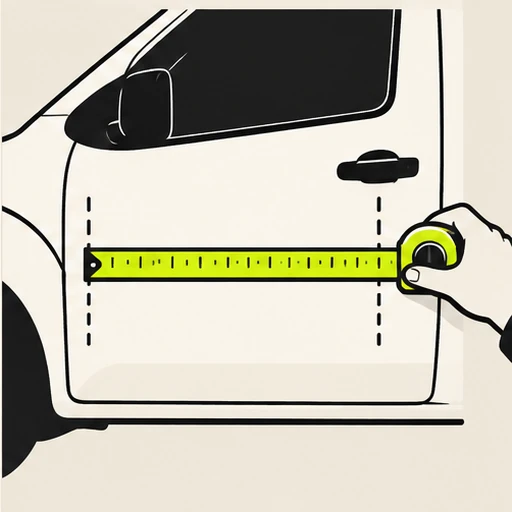
Measure the flat area you're fitting to before you order, avoiding handles, trims, rubbing strips and deep curves. Every product lists its finished size, width by height, so you can check it fits with a little room to spare.
What you'll need
- Isopropyl alcohol (IPA) and a lint-free cloth
- Masking tape
- A tape measure and a spirit level, or a long straight edge
- A squeegee, or a credit card wrapped in a soft cloth
- A sharp craft knife, for trimming and cutting door gaps
- 1
Pick your moment
Fit above 10C, on a dry day or in a garage, out of direct sun and wind. Cold vinyl doesn't grab, and a hot panel makes it grab too soon. If the van has just been washed, give it time to dry completely, including the seams.
- 2
Clean the panel
Wash off any dirt, then wipe the area with isopropyl alcohol on a lint-free cloth to remove wax, polish and grease. Don't use household cleaners or anything with silicone: they leave a film that stops the adhesive sticking. Let it flash off for a minute.
- 3
Position and hinge it
Hold the piece up with its backing still on. Measure from a fixed line, like the bottom of the window or a body crease, so it sits level. When you're happy, run a strip of masking tape along the top edge so it hangs from the van like a hinge.
Step back and check it from a distance before going further. This is the time to move it, not later.
- 4
Peel and squeegee
Lift the piece up on its hinge and peel the backing paper away, keeping the vinyl on the clear or paper application tape. Let it fall back towards the panel without touching it.
Starting at the top in the middle, squeegee outwards and downwards in firm, overlapping strokes. Push air towards the nearest edge. Larger pieces are easier with a second pair of hands holding the bottom away from the van.
- 5
Remove the application tape
Go over everything once more with the squeegee, then peel the application tape back on itself, slowly and close to the panel, at a sharp angle. If a letter starts to lift with the tape, lay the tape back down, press that letter again and carry on more slowly.
Small bubbles usually disappear on their own within a few days in the sun. A stubborn one can be pricked with a pin and pressed flat.
- 6
Trim and finish
Where a piece crosses a door gap, cut along the gap with a sharp knife so the doors open freely, then press the cut edges down firmly. Run a thumb or the squeegee along every edge one last time.
Reflective chevrons
Reflective material is thicker and stiffer than lettering vinyl, so it needs a little more care. Fit it somewhere warm, peel the backing a short section at a time rather than all at once, and press hard with the squeegee, working from the top down.
Trim around handles, locks and number plate recesses with a sharp knife once it's down, then press every edge again. Edges are where reflective material lifts first, so give them extra attention, and avoid pointing a pressure washer at them.
Aftercare
- Don't wash the van for 48 hours, so the adhesive can settle.
- After that, hand washing is kindest. Keep pressure washer jets well back from the edges.
- Don't use solvent cleaners, polish or wax on the vinyl itself.
Taking it off later
Warm the vinyl gently with a hairdryer or heat gun on a low setting and peel it back slowly at a sharp angle. Any adhesive left behind comes off with a little isopropyl alcohol.